
Introduction
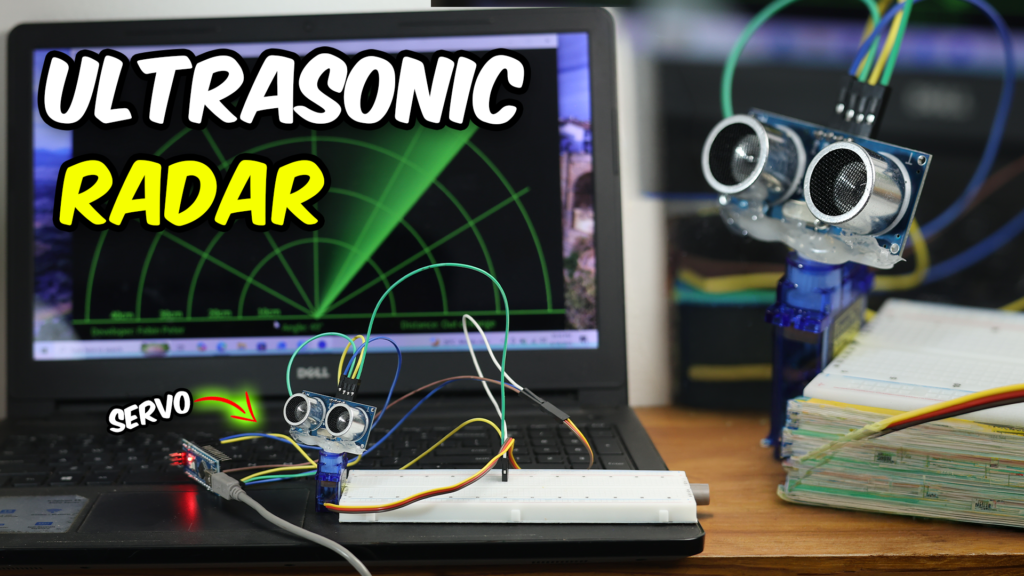
This project demonstrates how to build a DIY ultrasonic radar system using an Arduino microcontroller, an ultrasonic distance sensor, and a servo motor. The system mimics a real radar screen by scanning a surrounding area and mapping detected objects onto a computer display in real time.
Connections
The hardware setup requires wiring the sensor, servo motor, and Arduino board:
- Ultrasonic Sensor (HC-SR04) VCC: Connects to the Arduino’s 5V pin.
- Ultrasonic Sensor GND: Connects to GND.
- Ultrasonic Sensor Trig: Connects to a designated digital pin D10 on the Arduino.
- Ultrasonic Sensor Echo: Connects to a designated digital pin D11 on the Arduino.
- Servo Motor Signal: D12
- Servo Motor VCC : 5v Pin
- Servo Motor GND: GND
Working
The project operates through a combination of mechanical sweeping, distance measurement, and visualization software:
- Sweeping Mechanism: The servo motor continuously rotates back and forth across a set angle range (typically 0 to 180 degrees), sweeping the ultrasonic sensor along with it.
- Distance Measurement: At each incremental angle step, the ultrasonic sensor triggers a sound wave pulse and measures the time it takes for the echo to return, calculating the distance to any nearby obstacle.
- Data Transmission: The Arduino combines the current servo angle and the calculated distance into a data packet, sending it over a serial COM port to the computer.
- Radar Visualization: A software interface (such as a Processing sketch) reads the incoming angle and distance data to plot detected objects onto a sweeping circular radar display in real time.
Components
HC-SR04 Ultrasonic Module – https://link.amazon/B00uain9D
Jumper wires – https://link.amazon/B0bWtsAH1
Arduino Nano –https://link.amazon/B09hPoigI
Servo SG90 – https://link.amazon/B0exLax3F
Arduino and React Codes – Click Here
Download Processing Software – https://processing.org/download